10 Google Photos features which you may not know about
1 / 11
10 Google Photos features which you may not know about
Google Photos is one of the most used apps on the web, Android handsets and even iPhones. It is the go-to app for many when it comes to easy editing and creating a backup with ‘unlimited’ storage, something Apple and Microsoft are not able to provide until now. However, many don’t use the app to its full potential. There are several features that are supposed to save your time in efforts and here we have listed 10 of them below. Read on...
2 / 11
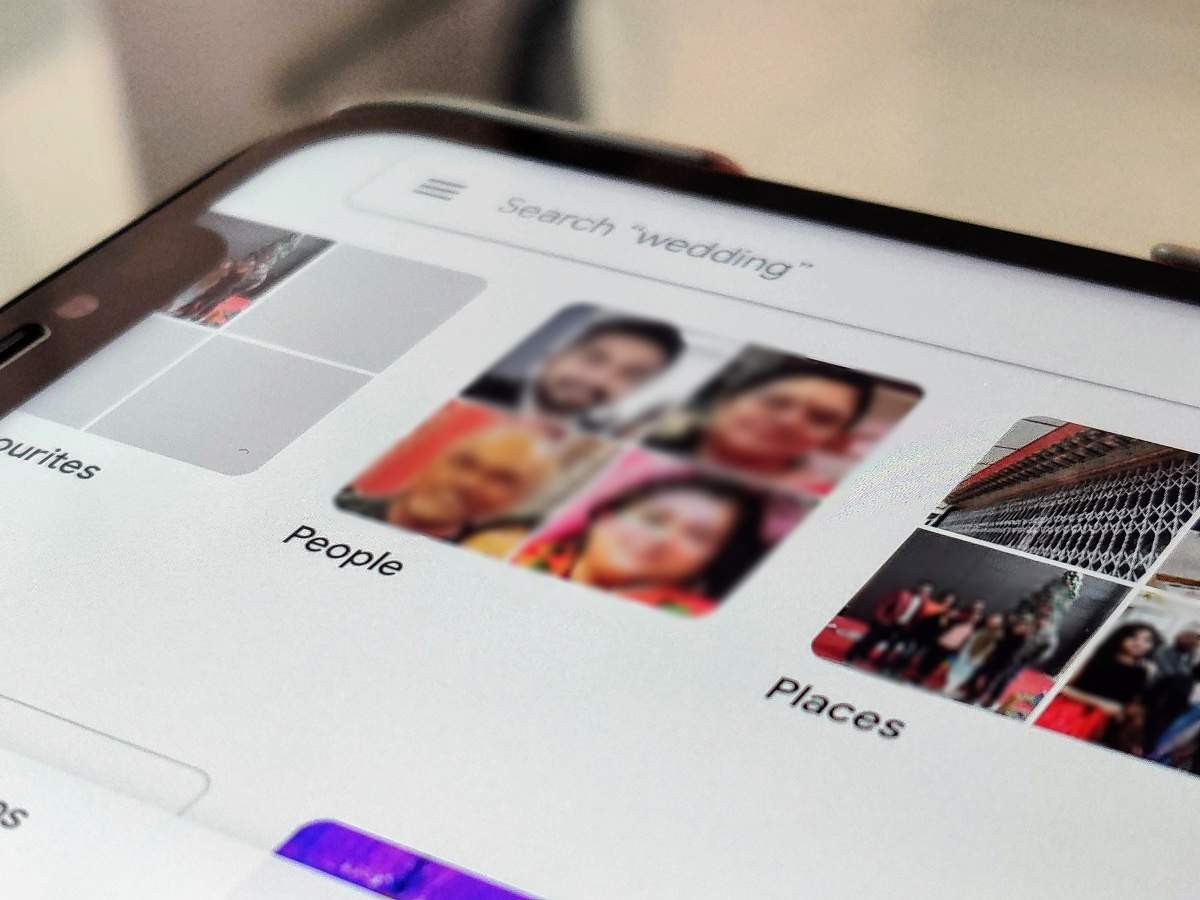
Labelling a person for easy search
ike we said above, labelling each person is important if you want to search images that has him/her in it. Once the name is allotted, Google search will show only images of that person once you search with the given name. This saves a lot of your scrolling time. You can label each person from the Albums section.
3 / 11
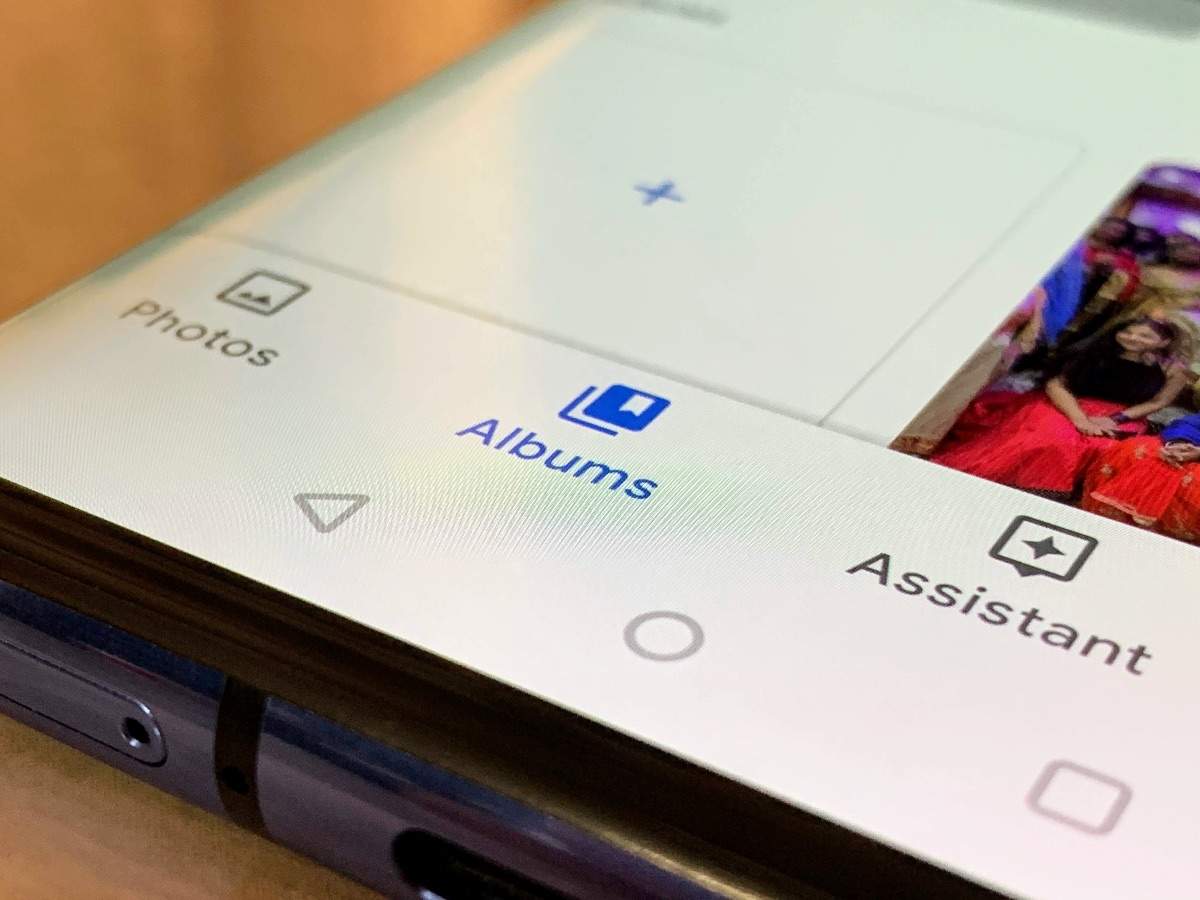
Auto-update albums
You don’t have to manually add images to update each album in Google Photos. Once you label the faces in the album there’s an option to auto update them. So next time when you take a selfie with that person or a photo of him/her, it will automatically be added in their dedicated album.
4 / 11
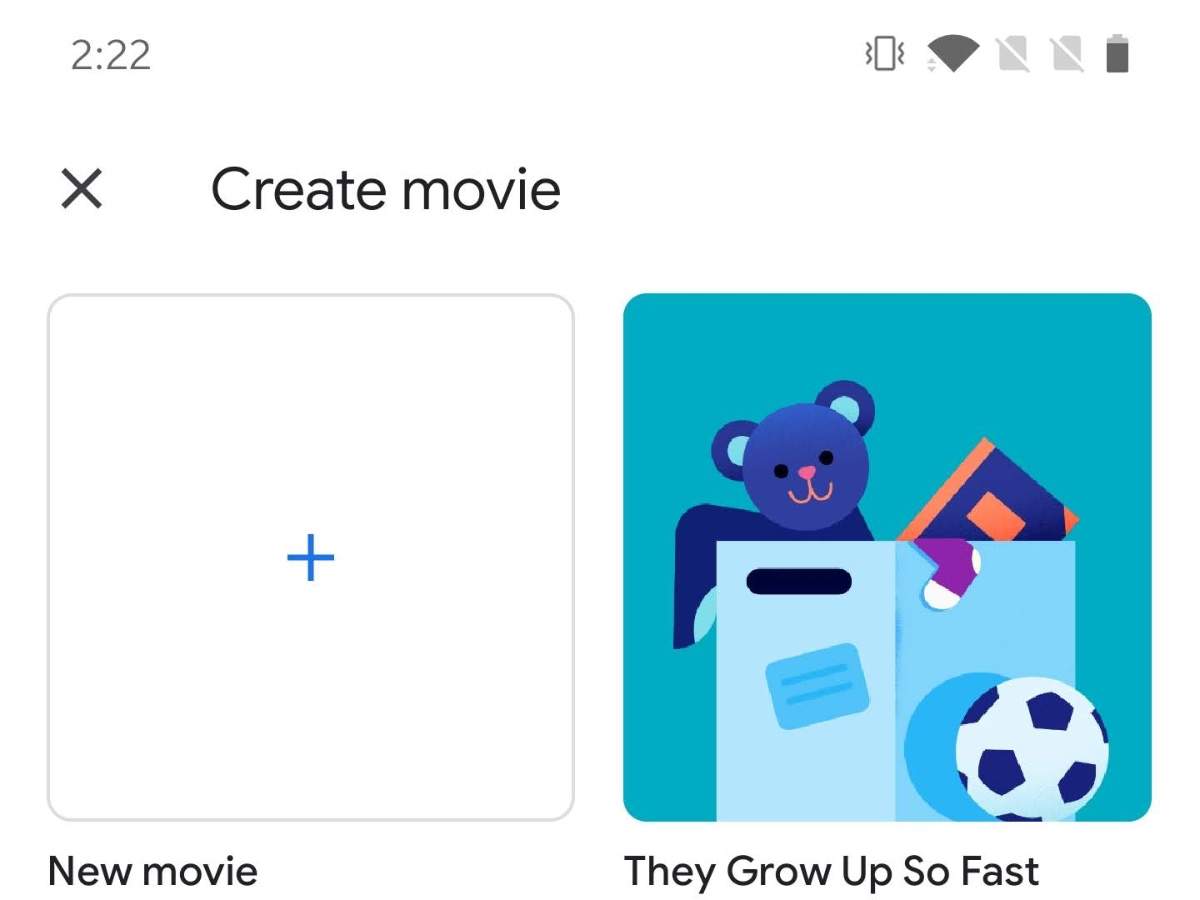
Make a movie in Google Photos
If you want to make a short movie of all the images from images that you clicked last night or during the vacation that you’ve just come from, you can do it in Google Photos. The option is visible in the three-dot options menu on the top corner.
5 / 11
Turn off ‘Assistant Cards’ if getting too many notifications
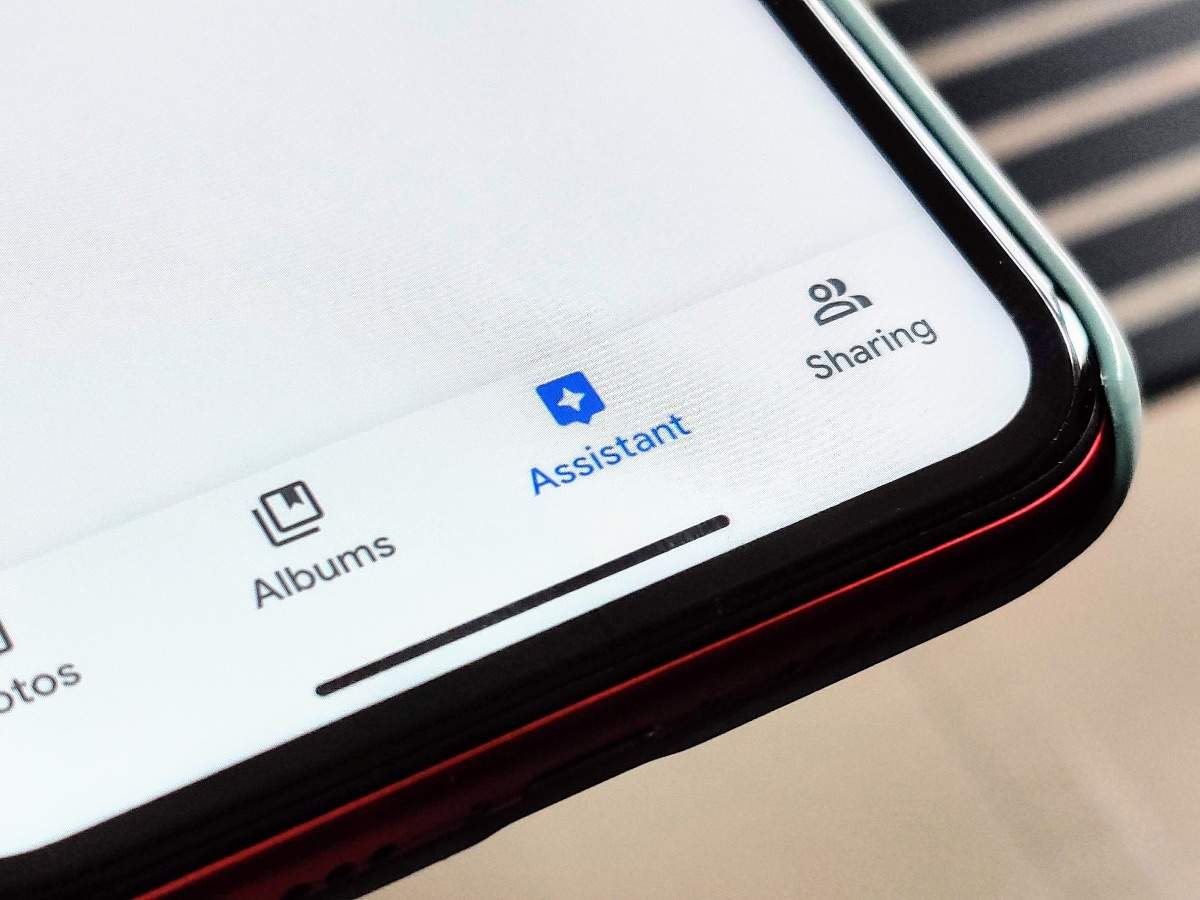
Several times it happens that when you open Google Photos, there is an in-app notification in the ‘Assistant’ tab. This could be anything from reminding moments from last year, creating an animation or a gif. However, most of the times users don’t want it or to get bugged for it. So, it is possible to turn it off from the Settings page.
6 / 11
Save data and backup images using Wi-Fi only
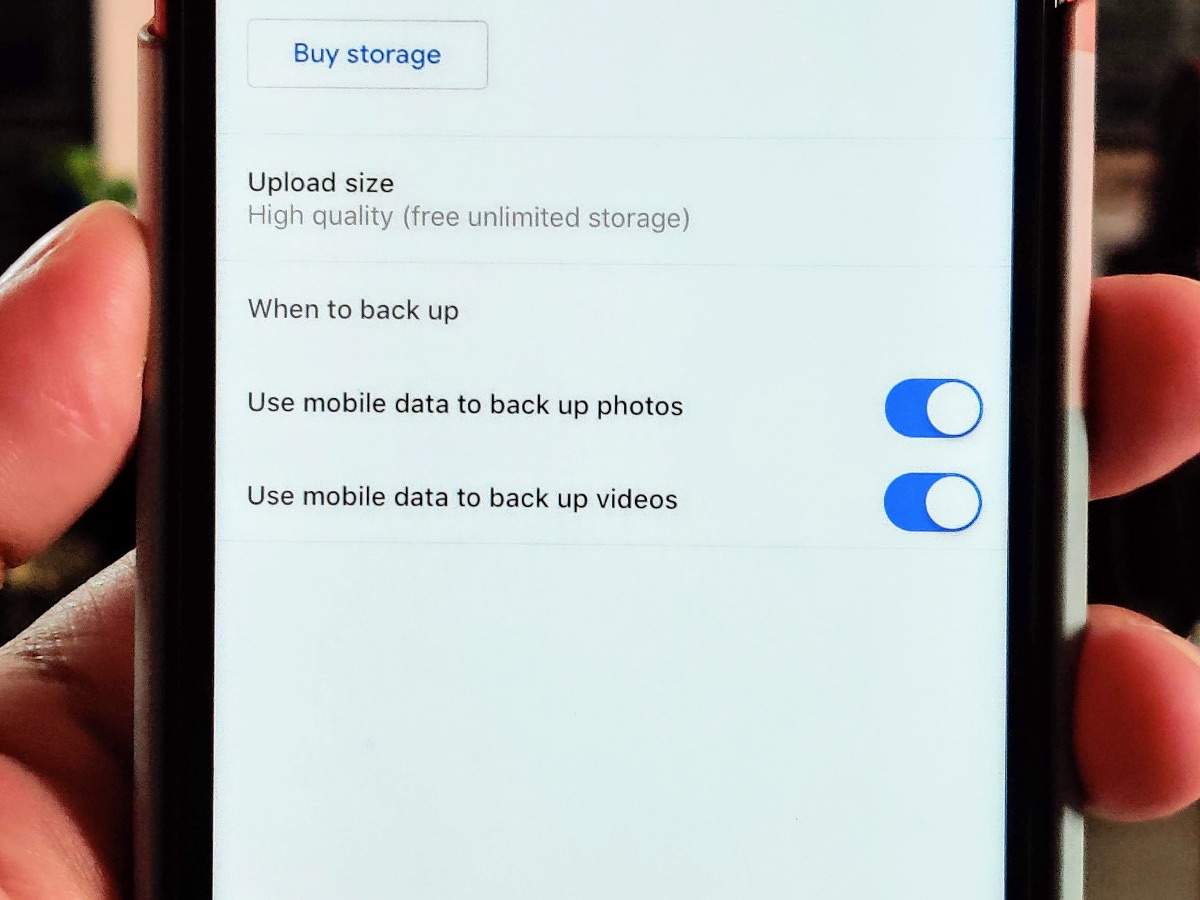
If you are planning to save data, it is possible to stop auto uploading of images to Google Photos. One can limit auto uploads to Wi-Fi networks only. This can be done from Settings > Backup and sync.
7 / 11
Scan your old photos to make a digital version from Google Photos
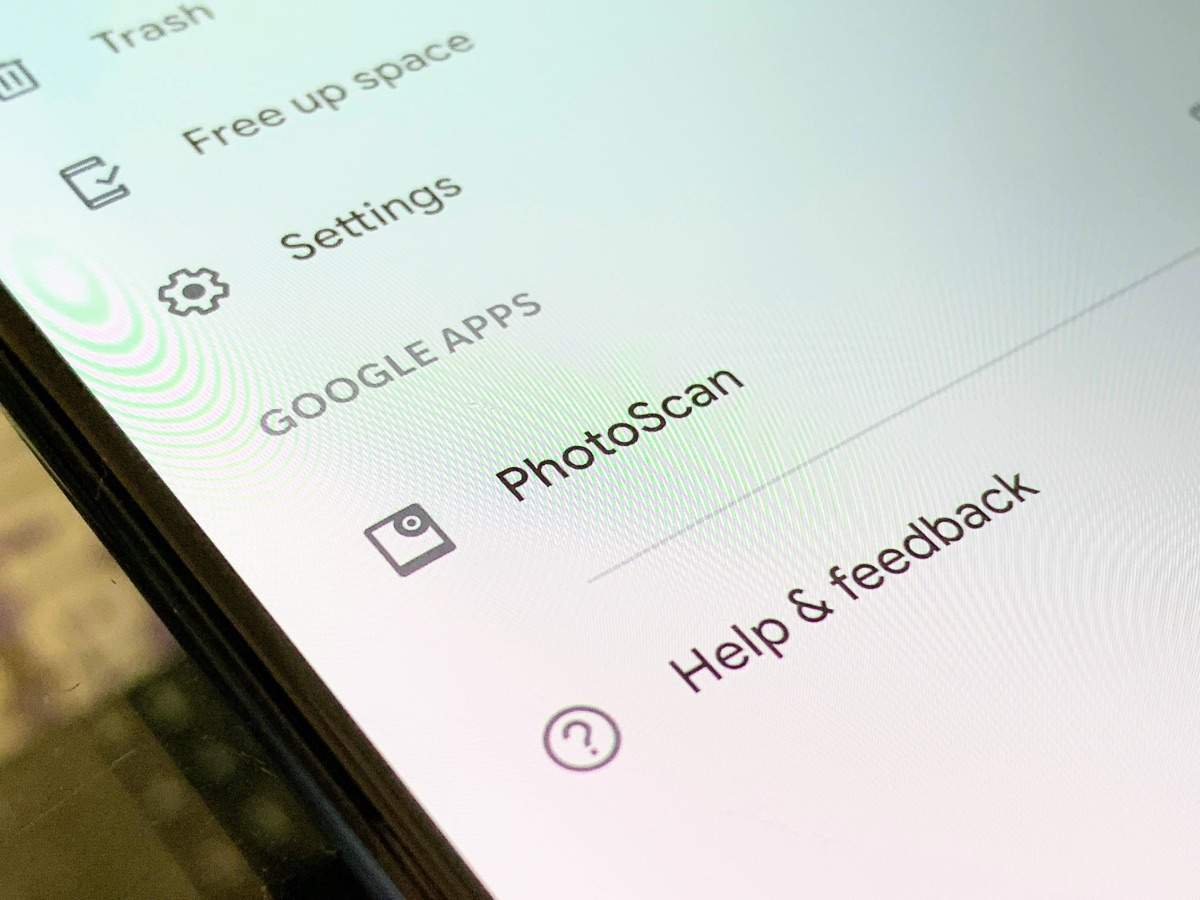
It is possible to scan and make a digital copy of your old photos from a physical album in Google Photos. All you need to do is to download Google Photoscan app. The app gets integrated into Google Photos and can be triggered from there itself.

8 / 11
Share entire photo library with another person
Although you have the option to share an album with others. This could take a lot of time when there are a lot of images and videos. In such cases you can share the library with another person. You can choose whom to share the library with and select which images are to be shown. It is also possible to show images from a particular date.
9 / 11
Hide select images in the Archive folder
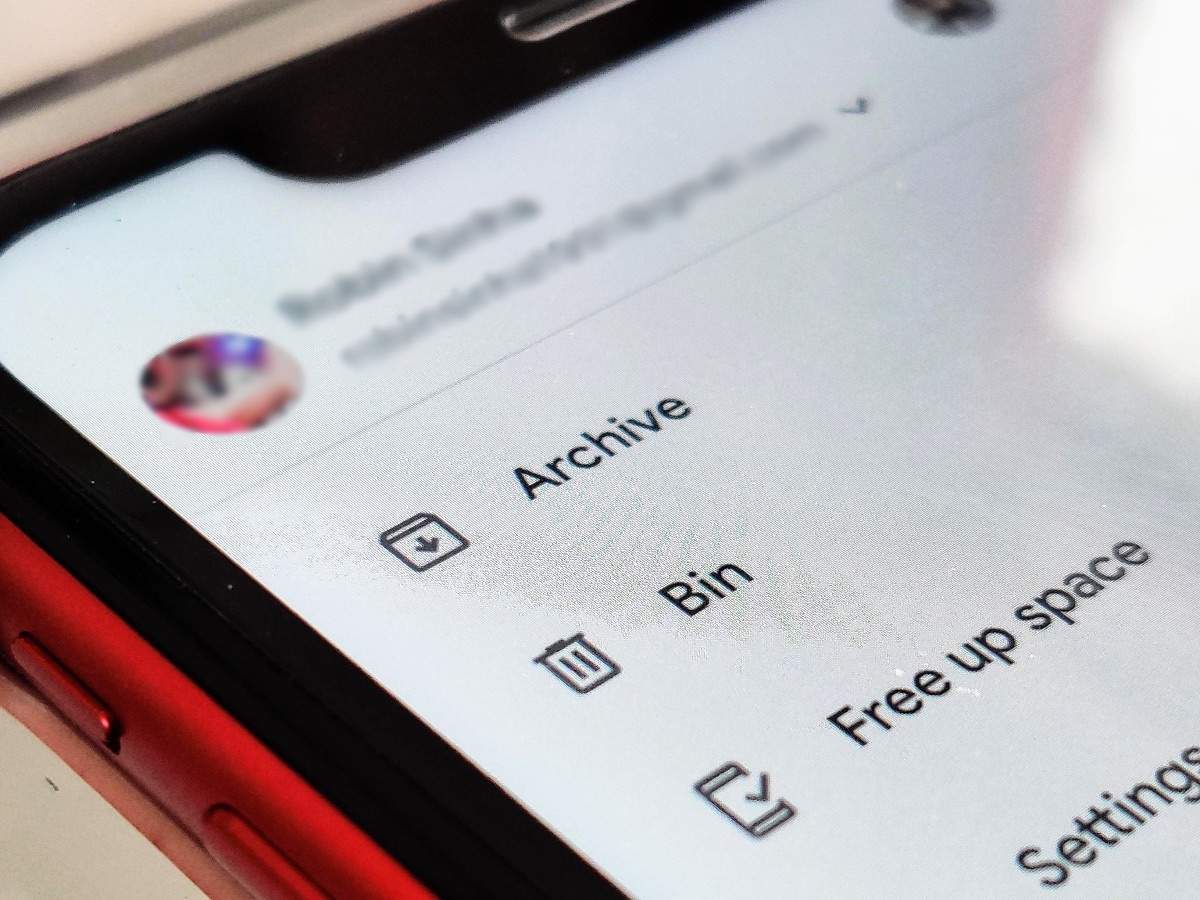
When you open Google Photos, you see all your clicked images up front. This is not always a good idea as there could be some personal images that you don’t want to show up when showing images to someone else on the phone. In such cases, you can ‘hide’ it in the Archives folder. All you need to do is to select multiple images, tap on the three dot menu on top corner and select ‘Archive’. To view, open the Menu tab from the top left corner and tap on ‘Archive’.
10 / 11
Know more about an image, different languages using Google Lens
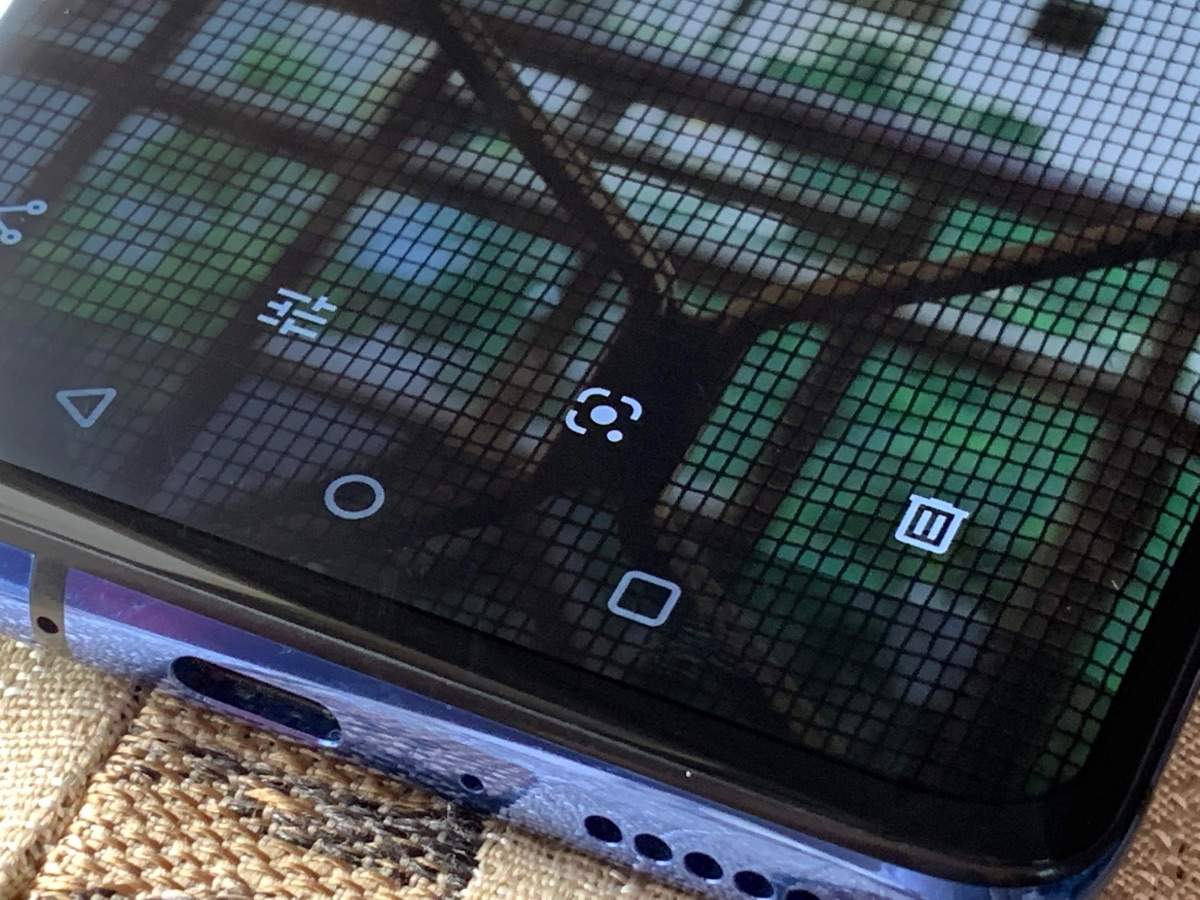
This is one of the most useful features available in Google Photos. You can know more about the subject in any image in the app by opening it and tapping on the Google Lens icon below. The feature searches for the image online and gives you more details about the location, person, food and more. This works on any image. If you are in a different country that has a different language, you can simply click the image of a poster or a sign and apply Google Lens to convert it in to English.
11 / 11
Apply same edits on multiple shots (Web version only)
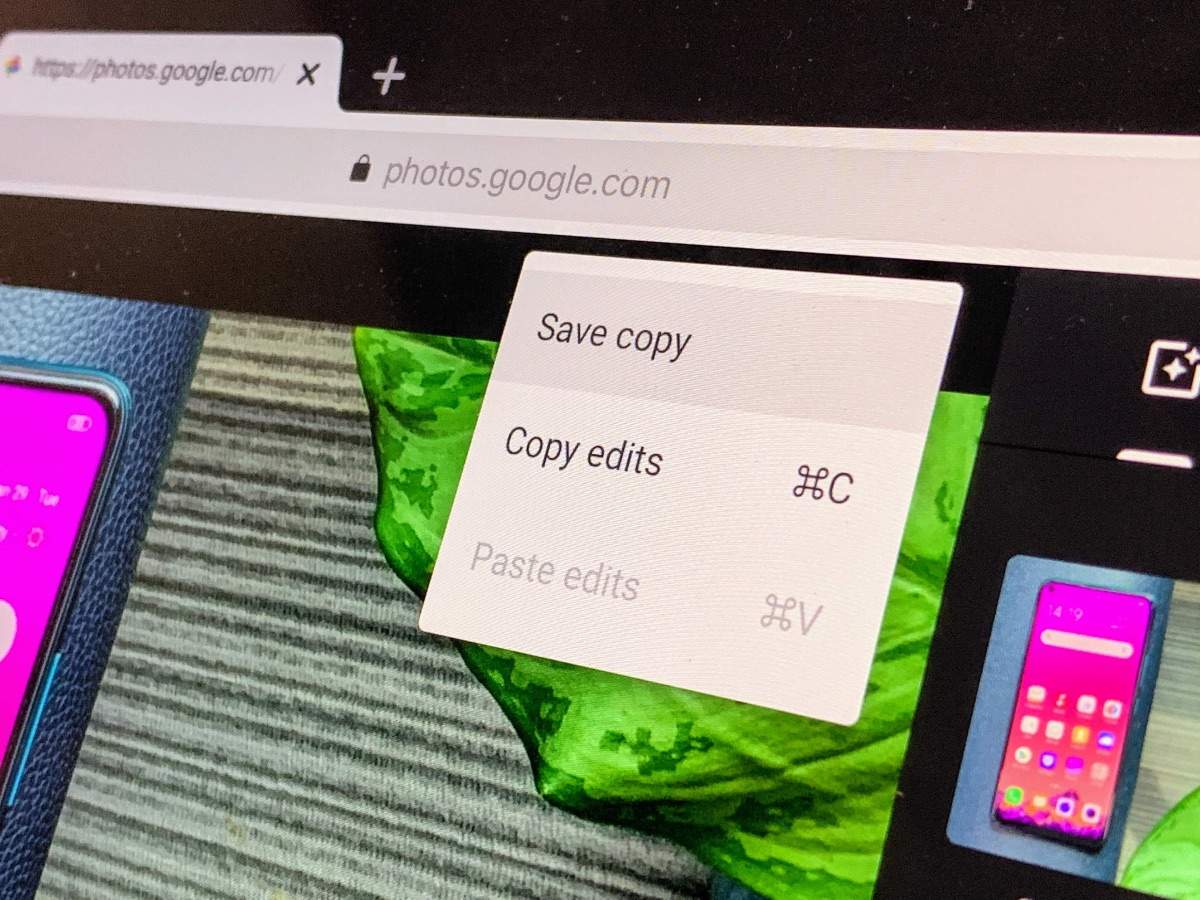
On the web version of Google Photos, you can apply the same set of image edits for multiple images. While editing an image click on the three-dot ‘More options’ menu and select Copy Edits. Use the same menu to paste edits on other images as well to save time.]


No comments:
Post a Comment